
 Updating and backing up project files: best practices
1. File>”Save a Copy” of the project every day. Not Save As, because that creates a new render folder.
Make sure only one version of the project is visible so that anyone can open the latest edit.
2. Keep a versioning system inside the project to make it possible to “step back in time.”
For example: Sequence_V1.0, Sequence_V1.1, Sequence_V1.2, through Sequence_V1.35
After export or screening, go one version number up: Sequence_V2.0, Sequence_V2.1… Sequence_V2.10 etc.
Internally, you can have as many versions as you like, but, externally, limit versions only to simple numbers.
I keep one bin at top level called “all” and have all other bins inside that. At the end of the day, copy and paste the latest sequence to the top level, leaving no question about what the latest sequence is.
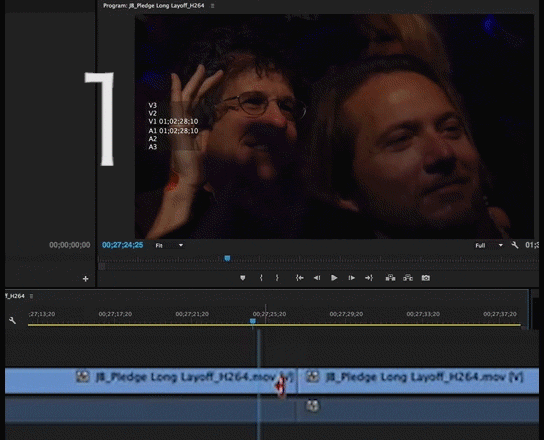
3. Keep tracks locked when not in use, especially audio tracks after sending out an OMF to sound mix.
4. Always know if “Selection Follows Playhead” is on or off!
Map it on your keyboard, or you will accidentally delete clips.
5. Before pasting material into timeline, right-click and choose “Default Source Assignment” to keep clips in the same stacking order.
6. When exporting “Software Only” check “Max bit depth” in export settings.
7. Avoid losing your renders, By clicking away from your rendered sequence, BEFORE closing Premiere.
Premiere immediately checks to see if the render files are available. If it doesn’t “see” them in those first milliseconds, they are ignored and you’ll have to re-render.
From Premiere manual
Ensure that Adobe video applications use the same cached files
Adobe video applications can automatically insert a unique document ID into each imported file. These unique IDs ensure that each application accesses the same cached previews and conformed audio files, preventing additional rendering and conforming. In the Media section of the Preferences dialog box (or the Metadata section for Soundbooth), select Write XMP IDs To Files On Import.
This setting is global—a change in one Adobe video application affects all the others. This setting also results in new file modification dates when IDs are initially inserted.
To save rendering time when transferring a project to another computer, move both cached and original files.
 When resizing or making moves> Set zoom level of your Program monitor to 100%, then click Motion in Effect Controls.
Now you can check that your image doesn’t go off the edge of the screen.
Keep Transparency Grid (Program Wrench) on. It helps prevent mistakes with resizing, and FX.

Trim view helps prevent flash frames.
1. Make a cut and apply dissolve.
2. During the dissolve in this example there is a flash frame.
3. Grab dissolve with Selection Tool (V)
-Trim view automatically shows how to adjust dissolve.
-In this example make the dissolve end at cut.
4. Check transition.
 Did you know:
In Premiere and After Effects layers/effects on the timeline. The bottom layer is rendered/processed first.
But.
In effect controls (of one layer), processing order is top to bottom!
For example: the Video Limiter has to be on top in the timeline to be the last effect, but on the bottom in effect controls.
See this Adobe post about render order.
Super useful: Video & Audio Usage columns. Right-click on column in Project window> Premiere Pro Project Metadata> Check> Video Usage & Audio Usage.
Amazing for times when you want to figure out which pictures or music files you used and how many times. It even lets you right-click, open the Sequence and cues up the blue-line at the clip! Good stuff Adobe.


Find all clips and sequences in a project
By typing “seq” or “clip” in the search box.
It conveniently twirls down all folders showing sequences or clips.