Guidelines shooting and editing for TV

Ver 3.5-20180707

SHOOT
DNxHDvsProResAs a producer you have control over how footage is shot. Please shoot (or request that your camera operator shoots) the footage in the codec, frame size, and frame rate you plan to master to.
Or shoot in one of these 3 formats:
1. AVC-INTRA 60i 29.97 fps, (not progressive, not 60 frames) MXF
2. DNxHD 29.97 (except any 4444 flavor) MXF
3. ProRes 29.97 (no 4444 resolutions) MOV in a Mac environment.
Shooting any H264 format internally, can double or triple the time needed to make the deadline and get the necessary sleep to work with a clear head.
-Panasonic cameras shoot > DVCPRO-HD 60i 29.97 fps, (not progressive, not 60 frames)
-Sony cameras shoot > 60i 29.97 fps XDCAM 35 or 50 Mbps(not progressive, not 60 frames)
-Canon C100 or C300 shoot 29.97 fps AVCHD or MXF with PCM audio 48k
-Canon 5D or 7D make sure you have the latest firmware to shoot 29.97 fps.
More shooting tips here
If your camera does not support recording to an I-frame codec, use video recorders (KiPro, PIX 240 etc.)
Zero your flash media before important shoots!
With multiple camera’s, you are responsible for delivering matching shots, this can’t be left to be “fixed in post”.
4K tips:
-Use tripod or use advanced optical stabilization.
-Interviews >aperture at least 2 stops closed, make sure focus is NOT too shallow!
-Check focus by using the digital punch in feature on most camera’s, or the biggest possible monitor.
-When shooting 4K cropped for 2 HD angles, k
eep ISO down and light well. A noisy image when cropped looks even worse. Plus the noise is bigger.

AUDIO
-Monitor audio using headphones during the shoot.
-Microphone placement is everything. The one spot that sounds best may also create mouth noises that a windscreen can’t cure. Putting the microphone farther down the chest can cause severe rumble from the chest cavity and stomach, and let too much room noise into the balance of direct- to-room sound.
-Center the microphone on your talent as much as possible.
-Do not hide the microphone under clothes, it will create muffled sound and rustling noises.

Multi-cam shoot
-Coordinate the rolls of all camera’s and audio recorders!
Everybody starts & stops at the same time. This greatly reduces the time you have to spend in post trying to figure out what belongs to what.
Bob the editor: ”Please no starting and stopping at will, you’ll create hundreds of files per shoot that I have to find and organize in post”
-Use a good common audio source on all camera’s & recorders.
Use the best mic possible to facilitate automated waveform syncing and make sure those mics “hear” the same source.
-Use Time-of-day FREE RUN on all sources.
With time-of-day, anyone on set can look at their watch and make a performance note or any other comment that will be useful and time saving later in the edit room. Make sure every device is set to Free Run.
-Use the strongest shooter for the b-roll.
Albert Maysles: ”Getting b-roll in a verite situation is tricky, you have to be quick to grab the right shots to make a scene editable”
-All cameras: Use fixed White balance, not automatic, not preset.
-Spend one minute getting a good balance, using a white card, all cameras, in the room where you do your shots.
-Use the same brand and type (no mixing of DSLR and video cameras)
-Use the same frame size and frame rate.
-If possible jam sync the timecode to time of day for easy logging.
-When shooting double system: LOG AUDIO FILES!!!!  
If it’s got no picture, tell the editor what it matches to – the editor wasn’t there when you shot it, and can only tell what it is, by playing it in real time unless there is a log.
-Make sure that the reel names and timecode
on your camera are set correctly and that they increment with each new card, tape or disc. The more information you can supply the better. If you’re keeping logging sheets or camera reports, please know editors do actually look at them!

EDIT
Click here for import to export in 5 steps.
Click here to read about a new 2018 Multi-Cam workflow.
Please transcode all footage before the edit to either:
1. DVCPRO-HD 60i 29.97 fps 1280×1080
2. DNxHD or DNxHR 29.97 fps (except any 4444 flavor) 1920 x 1080
3. ProRes 29.97 fps (no 4444 resolutions) 1920 x 1080
No mixed format timelines, especially no H264 footage of any kind.
-Transcode mp3s and M4v and any other compressed format to wav 24bit 48k.
-Use only the native filters and effects built into Premiere. (No free or demo versions of any plug-ins)
-During the editorial part of the edit; do not color correct or mix the sound.
-Set sound levels for screening purposes only.
-Do not process or mixdown any sound or remove any original camera sound tracks. (lower volume on clips you don’t want to hear)
-All titles, graphics and animations should be 4×3 titlesafe within the HD 16×9 frame.
-Titles should be an appropriate size for legibility for playback on the Web and Broadcast.
-Titles should be created at 90% max white. (not 90% opacity)

We will provide a separate sound mix, color correct and HD legalizing. Depending on your editor’s skill set we can provide you with a room that has a broadcast monitor and scope for proper viewing of video levels.

STILL SPECS
Scan as close to 5000 pixels, in either direction.
For example, if you scan a 8.5″x11″ sheet of paper, it should be about 2909w x 4000h
All images must be saved in RGB, not grayscale, CMYK or any color space other than RGB.
File format should be either .tiff (TIFF) or .tga (Targa).
Tiff’s should be saved as 8bit, uncompressed, in PC byte order.
This method should provide you with the most options for your needs and provide you with a solid “master” element.

DELIVERY
WNET-audio_level
Make sure your segment is within the following tech specs:
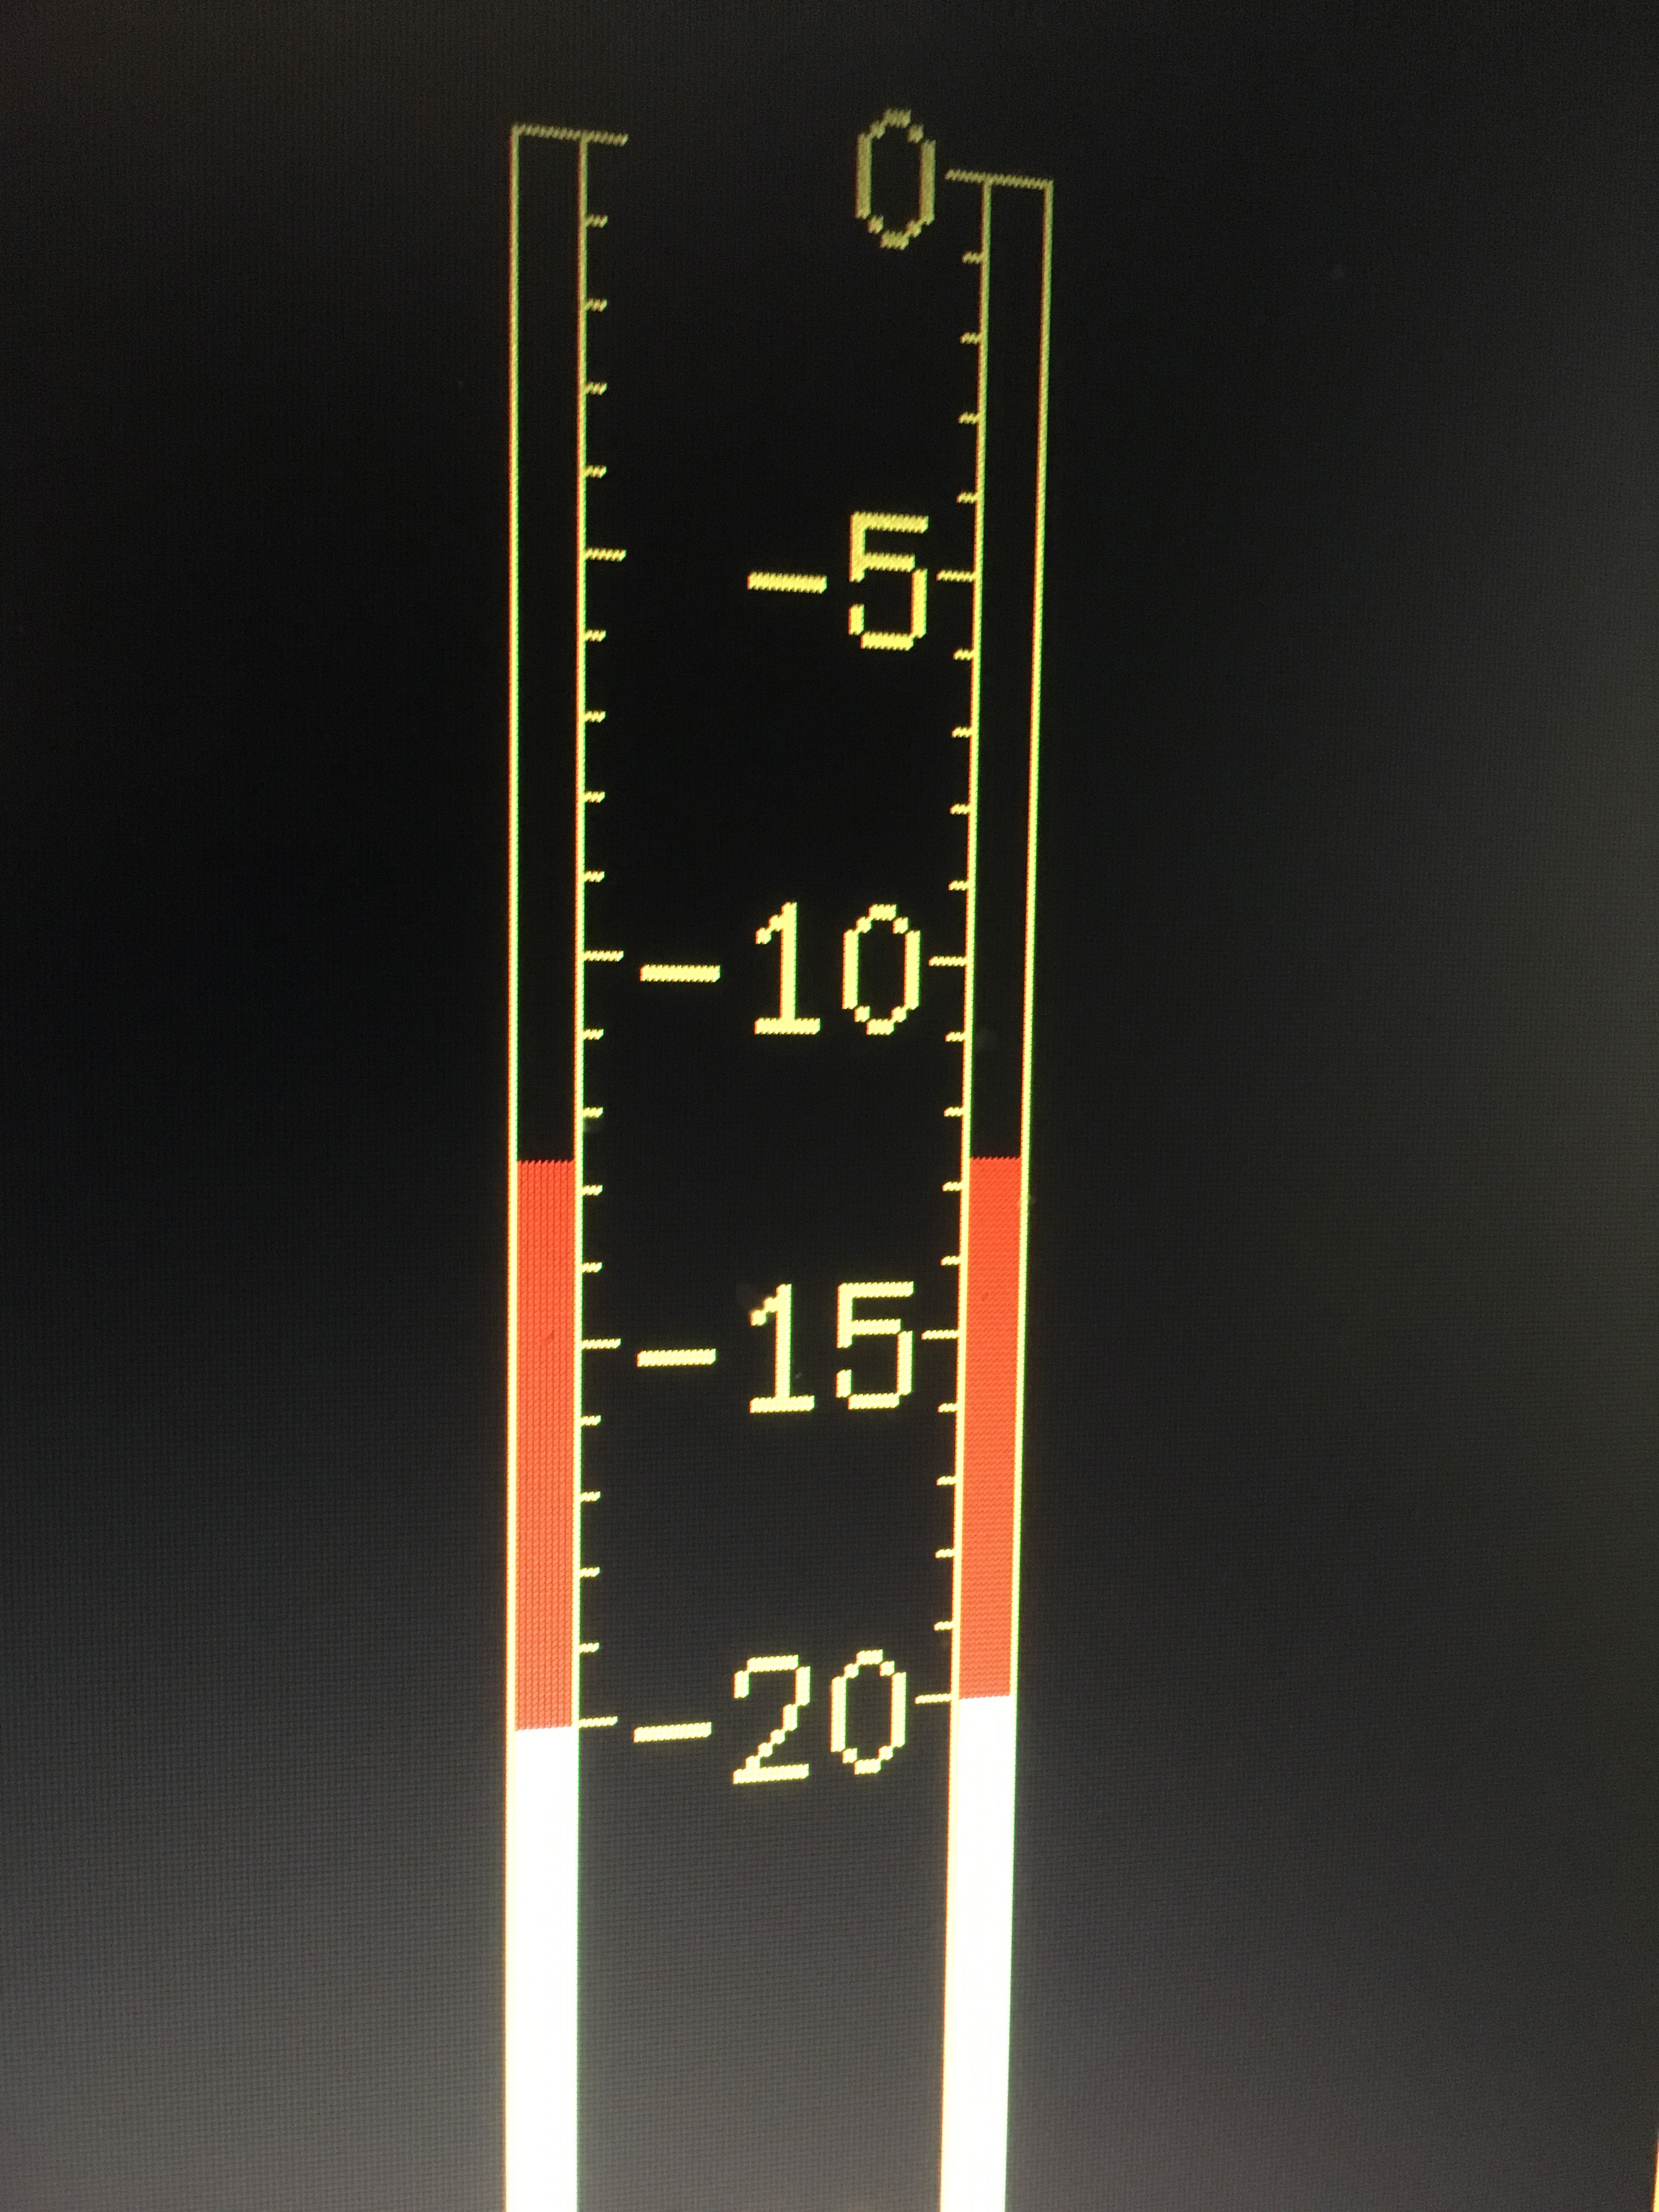
LUMINANCE: between 0 – 100
GAMUT: between -20 – 120
AUDIO: Most of the time level sits between -15 & -10.
filling up to -10db (occasional peak up to -8db)

GFX 4×3 titlesafe and at 90% white.
-Add 2 seconds of handles at the Head and Tail of the segment
-Deliver your final flattened file in one of the 3 formats discussed above.
-Deliver a textless version with split audio.(separate: NAT, VO, MUSIC)

-Premiere project with consolidated media.
-Clearly mark your FINAL LOCKED sequence in your project folder – make sure only ONE SEQUENCE IS VISIBLE!
-Simplify your timeline to include only the clips necessary to play. Everything else must go.
-Drop everything down to V1. Then dedicate other tracks to specific elements… V2 for overlapping dissolves or composites, V3 & V4 for titles and graphics etc.
-Please include all the fonts that you used.
-Please provide us with the following documents electronically:
a. List of Lower thirds ID / Subtitles with timings
b. List of production credits
c. Script
d. Music cue sheet
e. Visual cue sheet for stock footage and stills used
f. Signed releases


7 places alter behavior of Premiere

1. General Preferences (click for details) (Machine specific, not tied to project)
You have to redo these every time you move to a different station. Or after a reset.
Also be aware that your colleagues might change them. Check!

Set to Frame Size vs Scale to Frame Size.
pr-pref-default-scaleAlways have “Default scale to frame size” checked. 
Set to Frame Size> switches to the original high-resolution pixel information.
Scale to Frame Size> rasterizes to the sequence resolution, improving performance.
If you want to zoom past 100% you can uncheck “Scale to Frame” for that clip.
Effect Controls will always display the actual scale values of the full-resolution.

2. The Project settings (Tied to project, moves with project)
PR-WNET-PROJECT1of2
-Set Title Safe to: 33, 10, 10, 10.
This reflects the new 90% PBS Red Book Title safe standard for both 16×9 and 4×3 Title Safe.
-Check > Display the project item name and label color for all instances. It makes colors in Project & Timeline consistent.

3. Keyboard Shortcuts: You should know where this file lives, learn to change it, update it and move it wherever you go even keeping a WIN and MAC version.
a-keyboard
Learn to map functions that you use all the time like:
-Selection Follows Playhead
-Toggle Source/Program Monitor Focus
-Replace With Clip From Source Monitor, Match Frame
-Deselect All
-Zoom Program monitor In, Out & Fit
-Render In to Out
Print Default Layout on ledger 11×17 paper.

4. The Panel Menu> changes behavior of that specific panel (Tied to Machine)
a-panel

Timeline Panel Menu
This is where the Sequence start time can be changed.
Also Audio Time Units, enabling  Sample level audio editing.
Don’t use the Work Area Bar because it will remove render in to out.


5. Timeline Wrech Menu (Tied to Machine)
PR_TL_Wrench

Check all except:
1. Duplicate Frame Markers (Dupe detection)
It degrades performance and causes crashing.
2. Composite Preview During Trim
Also causes stalls and crashes.


Trim view still works even when unchecked! It helps prevent flash frames.

PR-trimview3op21. Make a cut and apply dissolve.
2. During the dissolve in this example there is a flash frame.
3. Grab dissolve with Selection Tool (V)
-Trim view automatically shows how to adjust dissolve.
-In this example make the dissolve end at cut.
4. Check transition.


PR-program-wrench


wrench
Program Wrench Menu

Check all except:
-High Quality Playback> causes stutters and crashes.
-Show Audio Time Units, see: Sample level audio editing.
-Time Ruler Numbers (clutters the monitor)


6. The Video Keyframe Menu chooses what the line on the video clip represents.
Great for manipulating keyframes in relation to other clips.
The best way to do Speed Ramping.

fx-menu

PRFXBadgeColors

FX badge colors
A. Gray: No effect applied (default badge color)
B. Purple: Non-intrinsic filter effect applied (like, color correction, blur)
C. Yellow: Intrinsic effect modified (like, position, scale, opacity)
D. Green: Intrinsic and Filter together.
E & F Red underline: Master Clip effect applied.

7. Buttons that toggle functions on/off
a-tools
These usually have Keyboard Shortcuts or can be mapped.


Premiere Audio Workflow

You can make premiere behave pretty much like FCP.
Also read 5 rules for a smooth edit.

Preferences>Audio: Default Settings, except>change all Default Audio Tracks to Mono.
pr-pref-audio
This makes it so that stereo camera tracks can be edited as double mono tracks.
If you’ve already imported or even edited them you can still change them, but this is a last resort. Right-click the tracks and choose>Audio channels
Or right click the clip in the bin and choose>Modify>Audio Channels

Premiere has 3 places where you adjust levels.

  1. Gain > Press G on the keyboard use FCP style menu to adjust clip levels.
  2. Window> Audio Clip Mixer sets levels FCP style with possibility or rubberbanding. Make sure that “Show Audio Keyframes” is on in the Timeline Wrench menu.
  3. Window>Audio Track Mixer sets levels for whole track.

Sync sound on track 1-4 0 DB (level individual clips with G)
Nat sound tracks 5&6 at -15dbs.
Music tracks 7&8 at -15dbs.
Open the top area of the Master track
pr-track-secret
add the Multiband Compressor for immediate smoothing of all levels.multiband
If you have noisy audio you can either:
Put all those clips on dedicated tracks > say 10+11 then add the DeNoiser to those tracks
or
add the same DeNoiser to individual clips.
Watch out for taking the DeNoiser too far and creating artifacts. Sometimes using an EQ effect can yield better results than DeNoise.

Workarounds for missing save function effects in Track mixer:

  1. Save a project as a template with your effects in place in the Audio Track Mixer.
  2. Nest audio clips into one clip in a track and apply your presets from the Effects Bin.
  3. Link to Audition and finish audio there.
  4. Bounce out an AAF and do it in Pro Tools.
  5. Create screenshots of your effects settings and save them in a folder on your desktop or Dropbox for reference.

iZotope RX Loudness Control


XML from FCP7 to Premiere

1. In FCP right-click the sequence and choose > Export >XML
FCP-xml
Leave the default, version 5 and uncheck both boxes.
2. In Pr import using media Browser as usual, with same media drives connected.
Don’t expect motion files that you’ve
 built with Motion 4 to come across.
What will come across are:
-Clips + Basic Motion tab atributes(including keyframe animation) + Cropping
-Multi-clips
-C
ross dissolves
-Audio levels & Audio dissolves
-Gaussian-blur
-Eight & Four point mattes
-Luma key
-Titles content but not Font & Placement (It is editable in Pr though, easy to adjust)

Not translate:
-3-way color corrector
-Motion files
-Nested clips
-Everything else
A lot of things aren’t going to come across, and if they’re vital to a project,  bake them in, export as clips from FCP, then import into Pr.

This is the official Adobe migration page

Fix it in Production, not Post!

11 things video editors wish they could say to camera operators and DOPs
I much rather shoot with an operating-editor, than a camera person with little or no editing experience. Even if framing or focus are less than perfect, with an editor you know the scene will cut together. Often a camera person without editing experience wastes time on lighting, focus or perfect framing, completely missing the shot or emotion.

Multi-cam shoot
-Coordinate the rolls of all camera’s and audio recorders!
Everybody starts & stops at the same time. This greatly reduces the time you have to spend in post trying to figure out what belongs to what.
Bob the editor: ”Please no starting and stopping at will, you’ll create hundreds of files per shoot that I have to find and organize in post”
-Use a good common audio source on all camera’s & recorders.
Use the best mic possible to facilitate automated waveform syncing and make sure those mics “hear” the same source.
-Use Time-of-day FREE RUN on all sources.
With time-of-day, anyone on set can look at their watch and make a performance note or any other comment that will be useful and time saving later in the edit room. Make sure every device is set to Free Run.
-Shoot with an I-frame codec. >No H264 DSLR compression!
DVCPRO-HD, PRORES, DNxHD or MXF using external recorders to skip transcoding all together.
This is a necessity on shoots with more than 3 cameras because Premiere can’t decompress long-GOP-codecs without time consuming crashes and other issues.
Download P2 & AVCHD viewer , Sony clip browser or RED to screen native files on computers without Premiere.
-Use the strongest shooter for the b-roll.
Albert Maysles: ”Getting b-roll in a verite situation is tricky, you have to be quick to grab the right shots to make a scene editable”
-All cameras: Use fixed White balance, not automatic, not preset.
-Spend one minute getting a good balance, using a white card, all cameras, in the room where you do your shots.
-Use the same brand and type (no mixing of DSLR and video cameras)
-Use the same frame size and frame rate.
-If possible jam sync the timecode to time of day for easy logging.
-When shooting double system: LOG AUDIO FILES!!!!  
If it’s got no picture, tell the editor what it matches to – the editor wasn’t there when you shot it, and can only tell what it is, by playing it in real time unless there is a log.
-Make sure that the reel names and timecode
on your camera are set correctly and that they increment with each new card, tape or disc. The more information you can supply the better. If you’re keeping logging sheets or camera reports, please know editors do actually look at them!

Single cam shoot
Ideal camera person has at least 2 of these qualities:
-has edited professionally for more than 1 year.
-has multiple, recent video’s online that you like.
-owns or has access to the camera that you want to use on the shoot.
-pays attention to detail & is easy to work with.
-has a “good eye”
A good camera operator will be able to spot a good opportunity and have an artistic eye for framing shots.
After finding  a reel of someone you like, also ask for a private link to 10 min of raw footage, uncut. (Sped up 10x, Watermarked and Silent to protect clients)
See this 5 min video showing raw footage of a top cameraman

Fast forward to 3:30 for 10x sped up version of his footage. Notice how he holds shots and gives multiple options for things that happen in front of the lens.

Specifications for an interview:
-make sure that the interviewee is evenly lit and that there are no distracting bright spots in the BG.
-exposure should be checked with zebra or peaking.
-no distracting movement in the BG.
-when shooting an interview longer than 10 min; make sure the light balance/color balance doesn’t change over time. (don’t shoot long interviews with available light on a cloudy day)
-Use the largest monitor you can carry to check focus.
-The DOF (dept of field) should be large enough to allow the interviewee to move their head and still keep eyes and ears in focus.
-Pay special attention to reflection of crew and lights when people wear glasses. Move lights up or tip glasses down, to avoid.

Specifications for B-roll:

-no adjustments of focus or exposure during a shot.
-if you have to reframe or refocus, please hold the shot at least 10 sec.
Always make a move both ways (tilt up, wait 10sec tilt back down)
Roll static shots at least 30sec.
Bob: “I think that shooters spend so much time behind the camera that it FEELS like they’ve sat on a shot long enough, when they’ve really only scored about two seconds of usable footage”


Check the back-focus on a large monitor before the shoot, learn how to adjust it for the specific camera you use:
Panasonic HVX-200 = Fixed lens > no back-focus adjust.
Panasonic AG-HPX370 always have the iris between 2.8 and 5,6 (use the ND filter & shutter to compensate) Higher aperture makes the shot soft, this is a known issue.
SONY EX3 > Set camera up with focus chart, go to the “Lens” menu in the main menu when your camera is in camera mode.
Select “Auto FB Adjust” and the camera should begin automatically calibrating itself.

AUDIO
-Monitor audio using headphones during the shoot.
-Microphone placement is everything. The one spot that sounds best may also create mouth noises that a windscreen can’t cure. Putting the microphone farther down the chest can cause severe rumble from the chest cavity and stomach, and let too much room noise into the balance of direct- to-room sound.
-Center the microphone on your talent as much as possible.
-Do not hide the microphone under clothes, it will create muffled sound and rustling noises.


Most talked about

1. Edits any format without transcoding

Not really true, because it creates “media cache files” to make the unplayable, playable in the background. Sometimes your audio and video play stuttery before lunch but when you come back it plays smooth (because it “rendered” preview files)

Not true with more than 3 cameras. For 12 cam you still have to transcode to either DNx 36-wrapped mxf’s or very low quality MPEG2’s (our COVE or proxy spec.) Relink to the originals for the online.
Also not true in a multi user or Dalet environment, you’ll have to normalize to be compatible with Dalet and media sharing with other users.

2. Warp stabalizer fixes shakey footage

In the past these shots where either deemed unusable, to be replaced or send to a time consuming and expensive Flame or After Effects session. It works in background. You have to learn what it can and can not fix.

The same tracker, used in AE can also be helpful in other ways.

3. Encoding in the background The Adobe suite includes Media Encoder (AME) an app that can take footage or edited timelines and encode for final output or proxy use in realtime in the background. You can create many versions and then work towards a final version as part of your workflow.

Keeping older versions as screeners in a collaborative environment brings out creativity and new posibilities. Gone are the days that the editor sits in a room, not to be disturbed until the cut is deemed watchable and perfected. Why not assemble the script long, then re-cut and re-think, then explore some use of b-roll etc. keeping all those versions for the whole team to watch and use.

Team members can transcribe, screen, create logs and write watching footage & cuts outside the editroom.

Here is a 3.5hr timeline with timecoded footage of one location

This file is a 1GB mp4 that can be uploaded to a transcriber, carried on a memory stick or posted on our internal network for anyone to watch like a proxy. Plays on PC or Mac.
other advantage is you don’t have to use the editroom as a screening/meeting room.

4 Ultra key greenscreen compositing and effects.

The New Year’s Celebration 2015 used to composite Julie Andrews on a background.
Ultra key is considered the best and easiest to use greenscreen tool in the business. Build into Pr.
We will use it for Reel 13 and any other greenscreen application. It opens up a new world of creative use of green & blue screen in our productions.
With a small workaround you can even use it in AE.

5 Direct link between Adobe suite apps
The idea behind it is great (link a Photoshop document or After Effects comp directly in the timeline) In reality when you link more than 4 AE comps and a few PS docs the project becomes too complicated and slows down too much to be usable. Most computers don’t have enough resources to have lots of apps & windows open at the same time. The workaround is simple: Create those documents in their own app, render out and keep replacing the file that you link too on the media drive. Or render in place, a technique that most editors used for many years.

6 Title Tool
Brings back sanity, efficiency, creativity, design.
In Pr you design lower thirds, titles and credit rolls on screen in realtime. Multiple rows, different fonts. The sky is the limit.

7 No more rendering/render in background is here!

A radical change in postproduction thinking.
When I discovered Pr’s realtime capabilities I decided to never render again.
Provided that you have a video card GPU with at least 4GB of Vram.
It gives you freedom of adjustment and rethinking. You never have to lock the GFX and wait.
A cut always flattens in realtime in the background no matter how many effects and layers you have.

The World of Tomorrow

From the TechCon Agenda, March 26, 2015

As a leader, producer or executive producer it’s important to know what it means to “work digitally.” You don’t necessarily have to send Facebook updates or tweets every second, but it’s good to try to learn about new cameras and editing software, and to revitalize your computer skills. Staying current with technology is easier than ever, from instructional YouTube videos, to courses on Lynda.com, the resources are endless. Be proactive, so you’re not just promising that you are willing to keep learning, but demonstrating that you do so all the time. Why ask the intern how to copy and paste text from a web page into a Word document if you can do it yourself. Learn how to screen raw footage and edits-in-progress from your desk.

IT and cloud computing will soon be handling the production and distribution tasks currently done in our machine rooms with television-specific hardware. You need to learn about the next generation of broadcast infrastructure with a hybrid environment of SDI, files, and video over IP, and about emerging formats like H265 and resolutions like 4K (UHDTV).

As file-based production workflows become more prevalent and delivery requirements continue to be refined, you need to know as much as possible about the files that are delivered. What is the methodology behind creating a good metadata schema? How do you produce compliant CC files? How long does it take to produce those? With recent FCC regulations regarding both the quality and accessibility (CVAA) of closed captioning (CC), you have to understand solutions to ensure CC quality, presence and compliance for broadcast and web (IP) delivered content.

As the post production systems get upgraded, you’ll have access to more than one piece of software. Legacy software like FCP 7 will still be around, specialized tasks will get done on Blender, Fusion, Resolve, & FCPX Our documentarians and multi-cam productions are going to use AVID and Premiere. Designers will use Adobe MAC and WIN. Freelancers can use Affinity. Most units will be using Premiere WIN. Each system meets a certain need, and in broadcast operations we add DAM and other digital broadcast systems to the mix to allow us to provide material to producers, editors, news, MC, traffic, external clients and others.

This website is meant to help you open up this new world with links to lynda.com for professional development and other helpful articles.

Leading the Four Generations at Work
Communicating how to do what you do
Good Computer Habits
Computer Skills Mac
Computer Literacy Mac
Computer Literacy Windows
Meeting the Challenge of Digital Transformation
The American Archive of Public Broadcasting
WebM is the HTML-5 standard video format created by Google.

Communicating how to do what you do

What would happen if you or one of you production team members got hit by a bus on the way to work tomorrow? Would your job be easily covered? How would anyone else know what to do? How do you know what to teach them? Is everyone in Development, Promotions, Production, Traffic, Post, Audio and Master Control on the same page and ready to act? Do you have a production bible?

Communicating how to do what you do is very important for reasons ranging from:

  • Getting disparate departments working together more effectively.
  • Identifying better ways of doing things.
  • Convincing management why you need additional resources, gear, or personnel.
  • Delegating more effectively.
  • Being better prepared for organizational change and restructuring.
  • Discover how some of your peers are grappling with documenting their daily tasks and procedures.
  • Staying on schedule and budget, undeterred by people being late, sick or stuck in traffic…
  • Communicating clearly with clients inside and outside the organization.

For example, as an editor, I want the whole team to know where the project files are, both the outputs and the backups. I try to establish a folder structure that everybody on the team knows and understands. All team members should know how to access different versions of the edits, Word and Excel documents, pictures, GFX files, etc. etc.